Preparing a Room for Painting: Six Essential Steps

Cherry Hill NJ Painters - Prep Room

Painting a room can transform its appearance and give it a fresh new look. However, achieving a flawless finish requires proper preparation. If you’re looking for professional painters in Cherry Hill or planning a DIY painting project, this article will guide you through the essential steps to preparing a room for painting. From gathering the necessary tools to preparing the surfaces and protecting your furniture, following these steps will ensure a successful painting experience and a beautifully painted room.

  1. Gather the Required Tools and Materials
    Before you begin prepping the room, make sure you have all the necessary tools and materials. You’ll need:
  • Drop cloths or plastic sheets to protect the floor.
  • Painter’s tape for clean edges and to protect trim, windows, and outlets.
  • Sandpaper or a sanding block to smooth rough surfaces.
  • A putty knife for filling holes and cracks.
  • A primer to create a smooth, even base for the paint.
  • Paint rollers and brushes suitable for your chosen paint type.
  • Paint trays and liners for easy application.
  • Cleaning supplies like soap, water, and a sponge or cloth for surface preparation.
  1. Clear and Clean the Room
    Begin by removing as much furniture and decor from the room as possible. Take down any wall hangings, curtains, or light fixtures. If you cannot move large furniture, push it to the center of the room and cover it with drop cloths or plastic sheets.

Next, thoroughly clean the walls, baseboards, and other surfaces you plan to paint. Remove any dust, dirt, or grease using soap, water, and a sponge or cloth. Pay attention to areas near doors, windows, and light switches that tend to accumulate grime.

  1. Repair and Patch Imperfections
    Inspect the walls for any imperfections such as holes, cracks, or dents. Use a putty knife to fill these imperfections with spackle or a suitable filler. Allow it to dry and then sand it smooth. This step ensures a seamless finish when the paint is applied.

If you encounter larger holes or damaged areas, consider using a wall patch kit. These kits typically contain a patch and joint compound, which can be applied according to the manufacturer’s instructions.

  1. Sand and Smooth the Surfaces
    To achieve a professional-looking paint job, it’s essential to have smooth surfaces. Lightly sand the walls, baseboards, and other painted surfaces using sandpaper or a sanding block. This step helps remove any loose paint, rough patches, or texture, creating an even surface for the new paint to adhere to. Be sure to wipe away any sanding dust with a damp cloth before moving on to the next step.
  2. Apply Painter’s Tape and Protect Surfaces
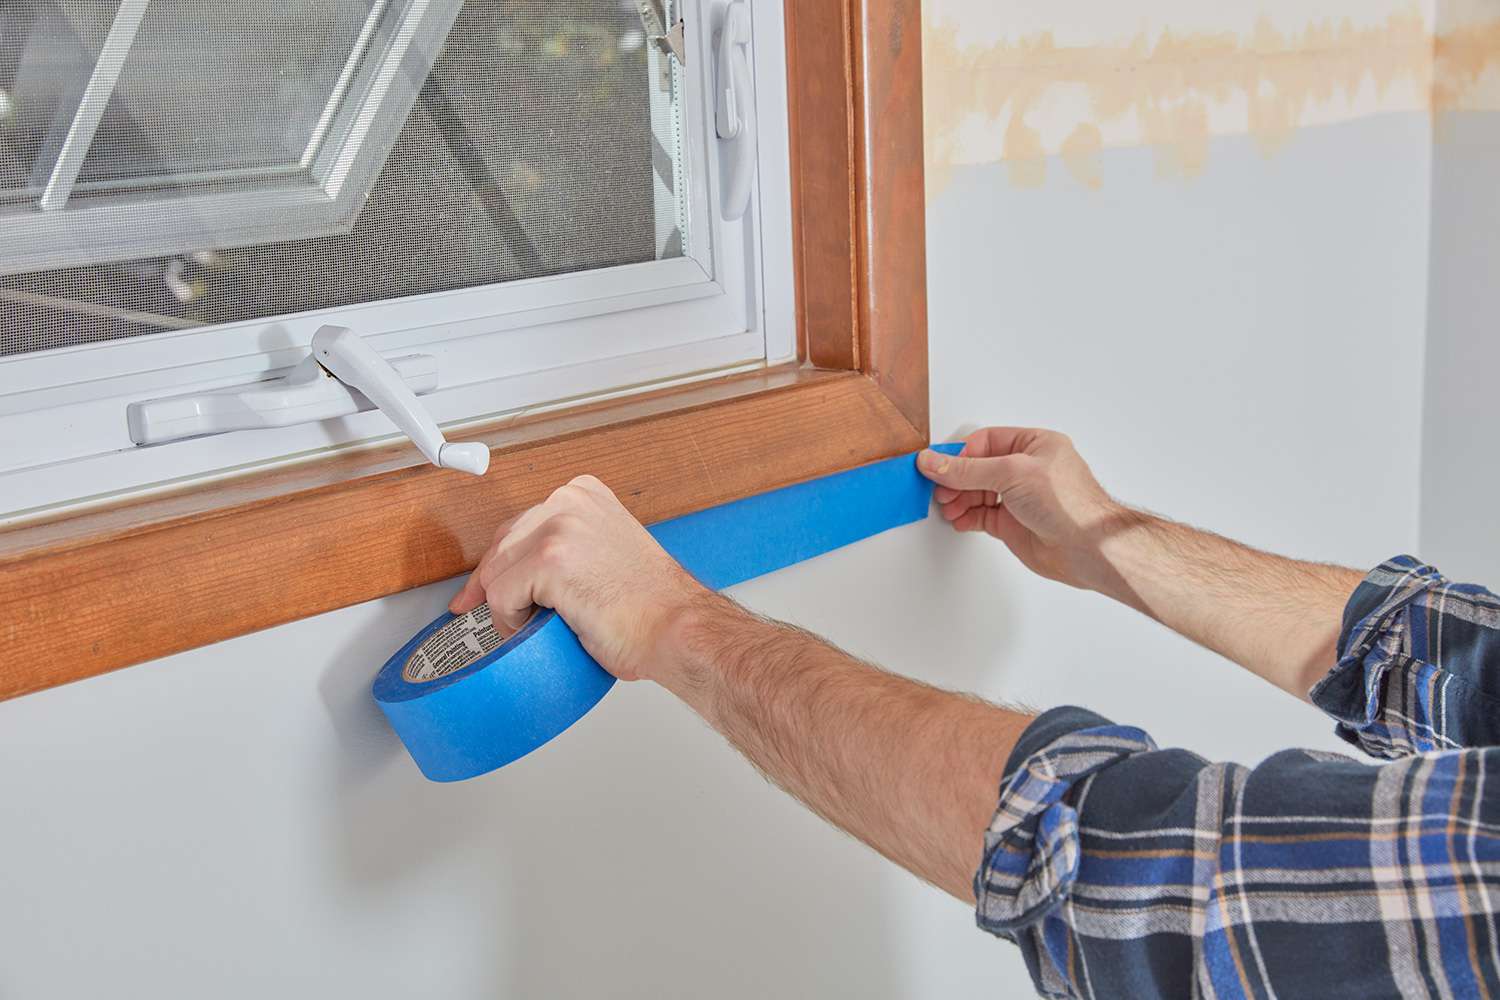
    Painter’s tape is a valuable tool for achieving clean and crisp paint lines. Apply the tape along the edges of trim, windows, outlets, and any other areas you want to protect from paint drips or splatters. Ensure the tape is firmly pressed down to prevent any seepage.

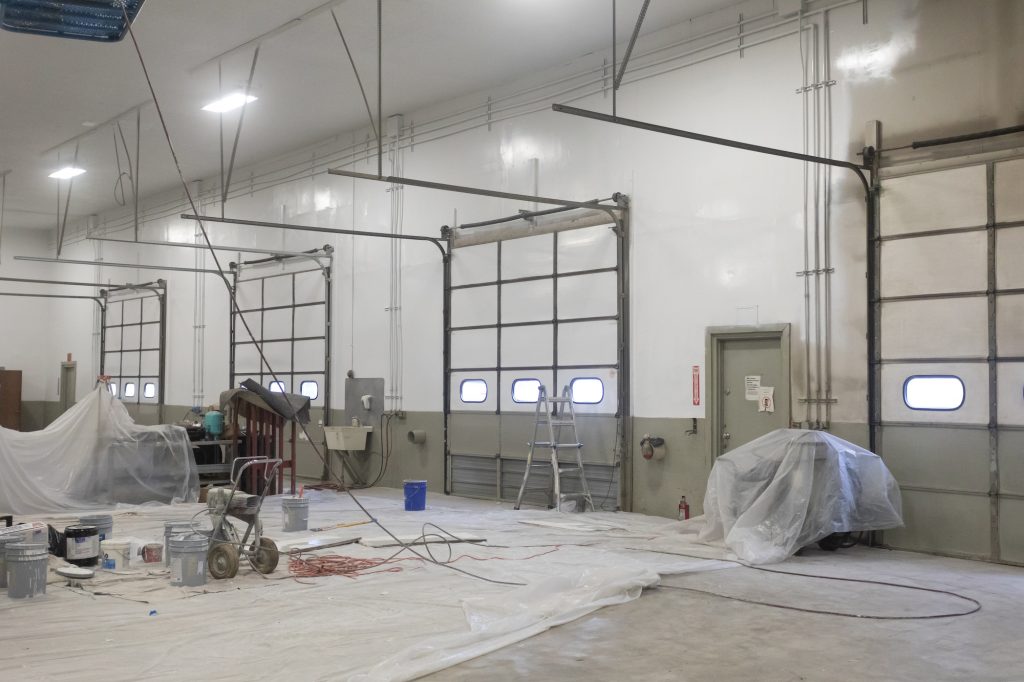
Cover the floor with drop cloths or plastic sheets to safeguard against accidental spills or splatters. Additionally, use old sheets or plastic to protect any remaining furniture or large items that couldn’t be moved.

  1. Prime the Surfaces
    Priming is an important step, especially when dealing with new drywall or surfaces with stains or uneven textures. Apply a coat of primer to create an even base and enhance the adhesion of the paint. Use a brush to cut in around edges and corners, then follow up with a roller for larger areas. Allow the primer to dry completely before applying the paint.

Properly prepping a room for painting sets the foundation for a successful and professional-looking finish. By following these steps, whether you hire painters in Cherry Hill or take on the project yourself, you’ll be well-prepared to transform your room with a fresh coat of paint. Remember to gather the necessary tools, clean the room thoroughly, repair any imperfections, sand the surfaces, apply painter’s tape, protect surrounding areas, and prime the surfaces before painting. With careful preparation, your painted room will shine with a flawless and beautiful new look.

Share this post:

The Best Exterior Paints For Each Type of Siding

A fresh coat of paint is a great way to boost your home’s curb appeal and protect your siding. But with so many options available, it can be hard to know which exterior paint is the best fit for your siding type. In this article, we’ll explore the best exterior paints for each type of siding according to Painters in Haddon Heights.

Your home’s exterior is the first thing people see when they visit. That’s why it’s important to keep it looking its best. Whether you’re looking to spruce up your home’s appearance or protect it from the elements, a fresh coat of paint can do wonders. But not all exterior paints are created equal. The best paint for your home will depend on the type of siding you have.

Best Exterior Paints for Wood Siding

Wood siding is a classic choice for many homes, but it requires regular maintenance to keep it looking its best. The right paint can help protect your wood siding from rot, weather, and insects.

Sherwin-Williams Duration Exterior Acrylic Latex

Sherwin-Williams Duration Exterior Acrylic Latex is a top choice for homeowners looking to paint their wood siding. This paint is made with advanced acrylic co-polymers, which make it highly resistant to cracking, peeling, and fading. It also offers excellent coverage, so you can get the job done with fewer coats.

Benjamin Moore Arborcoat Solid Deck & Siding Stain

Benjamin Moore Arborcoat Solid Deck & Siding Stain is another excellent choice for wood siding. This stain offers superior protection against UV rays and water damage. It also comes in a range of colors, so you can find the perfect shade to complement your home’s exterior.

Best Exterior Paints for Vinyl Siding

Vinyl siding is a popular choice for many homeowners because it’s affordable, durable, and low-maintenance. But not all paints will adhere well to vinyl, so it’s important to choose the right one.
Sherwin-Williams SuperPaint Exterior Acrylic Latex

Sherwin-Williams SuperPaint Exterior Acrylic Latex is a great choice for painting vinyl siding. This paint is specially formulated to adhere to vinyl, so you can be sure it will last. It’s also highly resistant to peeling, cracking, and fading.

Behr Premium Plus Ultra Exterior Paint and Primer in One

Behr Premium Plus Ultra Exterior Paint and Primer in One is another excellent option for painting vinyl siding. This paint is made with advanced technology that allows it to bond to even the most challenging surfaces, like vinyl. It also offers superior coverage and durability, so you can be sure your home’s exterior will look great for years to come.

In conclusion, choosing the right exterior paint for your siding is important to keep your home looking its best and protected from the elements. When choosing an exterior paint, consider the type of siding you have and look for paints that are specifically designed for that type of siding. For wood siding, Sherwin-Williams Duration Exterior Acrylic Latex and Benjamin Moore Arborcoat Solid Deck & Siding Stain are great options. Sherwin-Williams SuperPaint Exterior Acrylic Latex and Behr Premium Plus Ultra Exterior Paint and Primer in One are excellent choices for vinyl siding.

Remember, when it comes to exterior paint, quality matters. Invest in a high-quality paint that will last and protect your siding for years to come. Additionally, be sure to properly prepare your siding before painting, including cleaning and sanding if necessary. With the right paint and proper preparation, you can give your home a fresh new look and protect it from the elements.

Share this post:

Handling Your Excess Paint When The Job is Done

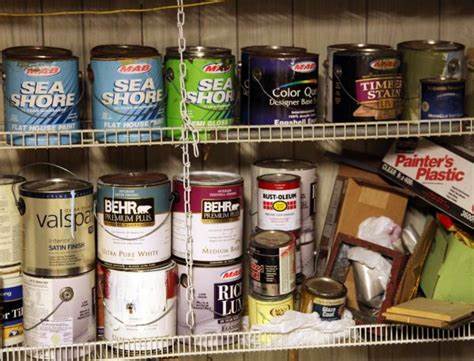
When it comes to painting your home, one of the things you’re left with is excess paint. Instead of tossing it out, you can store it for future touch-ups or even use it for another project. However, storing leftover paint isn’t as simple as putting it in the garage and forgetting about it. In this article, we’ll discuss the best ways to store leftover paint so that it remains fresh and ready to use for years to come according to local Painters in Cinnaminson.

Prepare the Paint

Before storing your leftover paint, it’s important to prepare it properly. First, remove any excess paint from the rim of the can to ensure an airtight seal. Then, cover the opening with plastic wrap and tap the lid into place with a rubber mallet. This will help create a tight seal and prevent air from entering the can, which can cause the paint to dry out or thicken.

Choose the Right Container

The container you choose for storing your leftover paint is crucial. Airtight containers such as glass jars or metal cans with a tight-fitting lid work well for storing paint. Avoid using plastic containers, as they are porous and can allow air to seep in. Additionally, plastic containers can break down over time, which can cause the paint to leak or become contaminated.

Label the Container

To avoid confusion later on, it’s important to label the container with the type of paint, color, and date it was stored. This will help you quickly identify the paint you need for touch-ups or future projects.

Store in a Cool, Dry Place

Proper storage of leftover paint is crucial to its longevity. The best place to store paint is in a cool, dry place, such as a basement or garage. Avoid storing paint in areas that are subject to extreme temperatures or humidity, such as attics or bathrooms. The ideal temperature range for storing paint is between 50-80°F (10-26°C).

Regularly Inspect and Stir

Even with proper storage, it’s important to regularly inspect and stir your leftover paint. Over time, paint can settle and separate, which can affect its quality. To prevent this, inspect the paint every six months and stir it thoroughly to ensure it’s still in good condition.

By following these tips, you can extend the life of your leftover paint and ensure it’s ready to use whenever you need it. Proper storage of leftover paint is not only good for your wallet, but it’s also good for the environment.

Share this post:

Top Interior Paint Colors of 2022

Looking to spruce up your living space in 2022? One of the most effective ways to transform the look and feel of any room is to give it a fresh coat of paint. But with so many interior paint colors available on the market, it can be difficult to know where to start. That’s why we’ve put together this list of the top interior paint colors of 2022 according to Painters in Marlton to help you get inspired and take your home decor to the next level.

Classic Blue

Classic Blue is a timeless color that has been gaining popularity in recent years. This shade is calming and peaceful, making it an excellent choice for bedrooms or bathrooms. Pair it with crisp white trim and neutral furnishings to create a sophisticated look.

Charcoal Gray

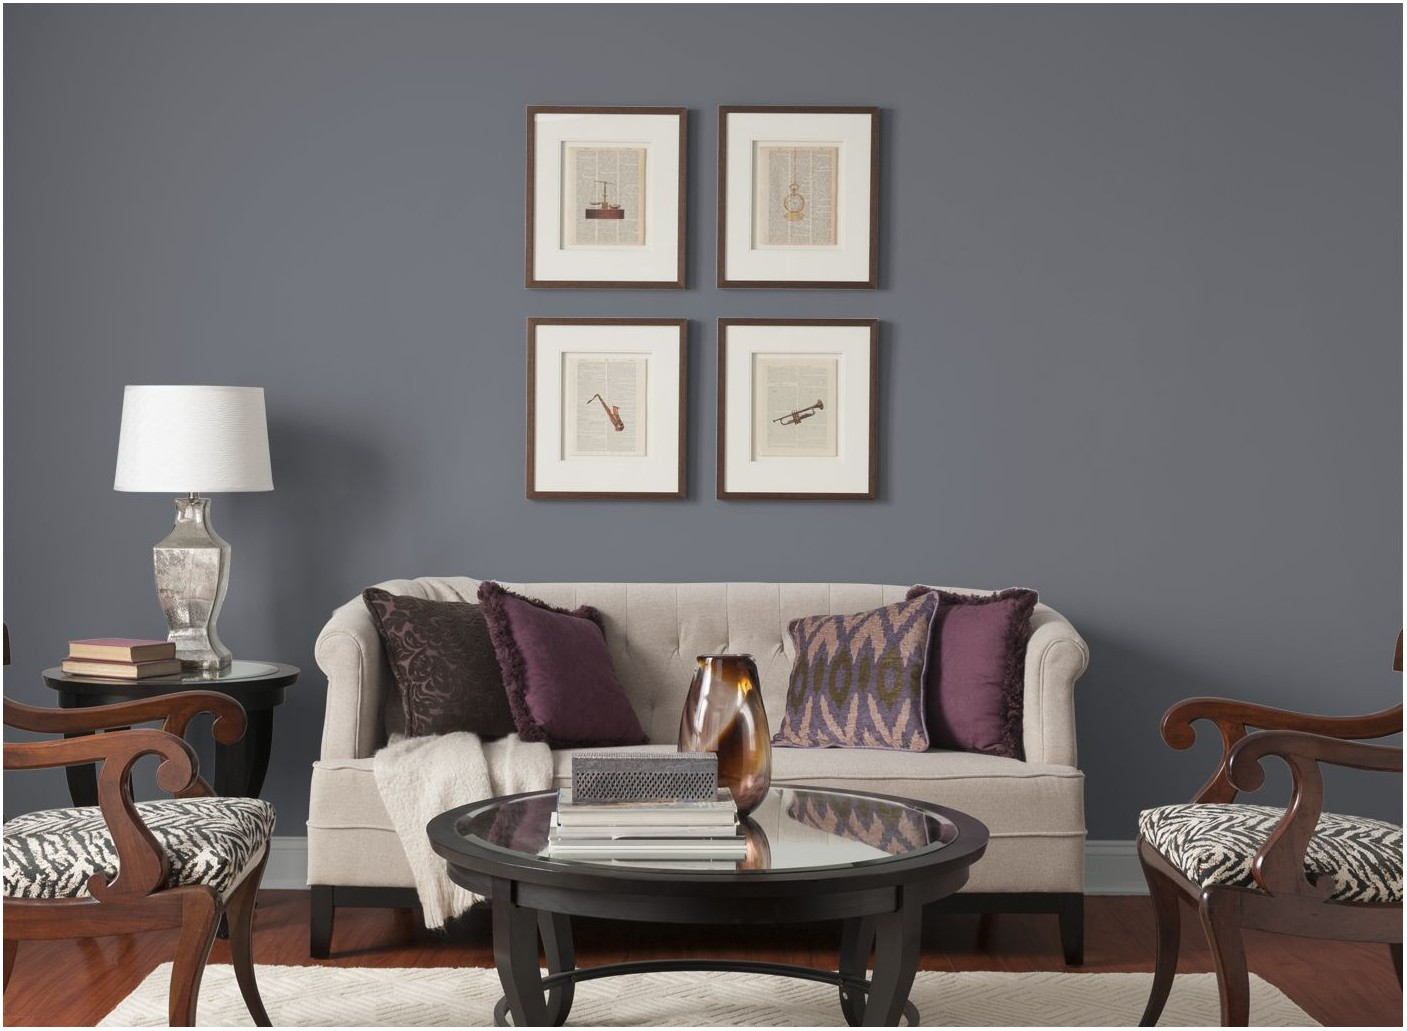
Charcoal Gray is a sophisticated and modern color that pairs well with a variety of design styles. This color is perfect for living rooms, dining rooms, or home offices. Pair it with metallic accents and pops of color to create a bold and stylish look.

Olive Green

Olive Green is a versatile color that can add warmth and depth to any room. This shade is perfect for kitchens, dining rooms, or any space that could use a touch of nature. Pair it with natural wood finishes and crisp white accents to create a welcoming and serene atmosphere.

Rich Navy

Rich Navy is a timeless color that adds a touch of elegance to any room. This shade is perfect for dining rooms, bedrooms, or any space that you want to infuse with a sense of sophistication. Pair it with brass or gold accents and plush textiles to create a luxurious and inviting atmosphere.

Warm Beige

Warm Beige is a classic color that never goes out of style. This shade is perfect for living rooms, bedrooms, or any space that you want to create a cozy and inviting atmosphere. Pair it with soft textures and muted colors to create a comfortable and relaxed vibe.

Rust Orange

Rust Orange is a warm and earthy color that adds a touch of personality to any room. This shade is perfect for accent walls, throw pillows, or any space that needs a little extra warmth. Pair it with natural wood finishes and neutral colors to create a cozy and inviting atmosphere.

Dark Forest Green

Dark Forest Green is a rich and moody color that can add drama and depth to any room. This shade is perfect for living rooms, libraries, or any space that you want to create a cozy and intimate atmosphere. Pair it with natural wood finishes and earthy textures to create a warm and inviting space.

In conclusion, these are the top interior paint colors of 2022. By incorporating one or more of these shades into your home decor, you can create a stylish and welcoming space that reflects your unique personality and taste.

Share this post:

How Long Will Your Exterior Paint Last?

2023 is looking like it could be the most expensive year to live in our lifetime. We have witnessed price spikes on many of the goods we all rely on everyday such as gasoline, fresh produce, meat, eggs, milk and countless other goods/services. My point in bringing up these goods is to remind you that it is more than just the core goods that are ascending, it is essentially everything. For example, the average cost of interior paint has seen a bump up of 21.2% from its prices at the end 2021. The reason for this uptick is indirectly due to the rise in raw materials worldwide. So, when you and your spouse are setting your expense budget for the month or the year, include an additional 20% to your home improvement or investment tab then you had to budget out for when you did this a few years ago. Secondly, you must consider what additional value is added by getting your exterior paint done by a professional instead of doing it yourself. The difference people see with professional work done by us Painters in Evesham is that the paint keeps a clean, healthy look for a longer period of time. Below are some specifics on paint durability:

Without looking at any specific situations, an expert would say five to ten years is the lifespan for an acrylic type of paint while latex and oil-based paint last closer to five years. If you are reading this you probably know there are other factors you must consider estimating the lifespan, so I compiled two lists:

Factors that are hard to avoid

  • Geographical location
  • Weather patterns
  • Strength or direction of sunlight
  • The original building material 

Factors easily avoided

  • Improper curing of the paint on the surface
  • Improper techniques and materials 
  • Improper preparation
  • Quicker fading colors 

If these factors are properly considered for when painting a home, you could see your paint lasting up to nearly 20-25 years.

Share this post:

The Best Paint Colors for Each Room of the House

We all know how difficult it can be to make multiple decisions in a short period of time. When it comes to planning for your interior painting, this is exactly what you will experience. It is not quite as simple choosing one single scheme for all rooms in the home. These days, homeowners seek out a varied paint color scheme through their entire home. The Painters in Haddonfield see couples go through this tedious process all the time and can help you out immensely if you are kindly seeking someone else’s expertise. These painters have so much knowledge regarding what colors are complementary to each other and which schemes are the best fit for each room. This is the part of the project homeowners tend to drag their feet on because it seems overwhelming to think about the house as a whole. These local painters can walk you through the home and talk you through the best paint colors for any room. If you choose to go the DIY route, do yourself a favor and take it one room at time. While you are thinking out your vision for your home, keep these helpful tips in mind for each room of your home:

The Kitchen

Optimal Colors: Deeper shades of red, rustic orange, and shades of off white.

Colors to stay away from: Neon/bright colors, black, and navy blue.

The Living Room

Optimal Colors: lighter tones of gray, maroon, and shades of teal.

Colors to stay away from: Bright reds, orange, and bright yellows or greens.

The Office

Optimal Colors: Lighter greens and lighter blues.

Colors to stay away from: Plain bright white and black/dark colors in general.

The Bedroom

Optimal Colors: Any non-bright shade of green, caramel shades, and gray.

Colors to stay away from: overly saturated colors, browns, pinks, and purples.

The Bathroom:

Optimal Colors: shades of salmon, beige/sand tones, and peach.

Colors to stay away from: All Neon’s, black, and brown.

Share this post:

Tips for Maintaining Freshly Painted Walls

When you are the owner of a commercial building, it is important to update your walls and keep the paint you paid for maintained. It is important because the fresher painted walls keep the property value high and also, they leave an impression with people. You will be spending your own money so here are a couple of tips to consider:

Be sure the right person is doing the painting: Commercial properties are huge, and they have not gotten any smaller in the past 25 years. Currently, they tend to be over 10,000 square feet of inside space and very high ceilings. So, if you thought you would be able to complete the project as an amateur, guess again. For this type of project, you will want to hire Painters in South Jersey like Rainer Painting. Experts like them will use only the highest quality paints and techniques to help you avoid any peeling or cracking. 

Choose wisely with furniture placement: If you have the luxury of being involved in the furnishing process, try to limit the number of pieces being arranged against the walls. You can consult with an interior designer who knows how to efficiently arrange a room to create a more centralized design plan. If you do have space constraints and need to arrange desk and chairs flush to the walls, try adding a buffer. For the least damage on your walls, you want to use a buffer made of rubber or cloth. 


Value cleanliness: Be sure to dust your walls multiple times a year. Accumulation of dust causes long-term discoloration with your walls paint. You can prevent this by teaching yourself how to dust large areas or you can hire a cleaning service who has experience with large projects of this kind. If you go the route of a cleaning service, be sure to schedule them 2-4 times a year. It may seem like overkill to do this, but it will help keep that color you painted looking fresh for 20+ years.

Share this post:

What To Consider When Painting Your Home In the winter

Of course, we all figure the summertime is the ideal season to work on your home’s exterior painting projects. But we also know how busy this time of year gets and how common it is for painting to get pushed off for a few months. If you find yourself need to complete a project in cold weather, you are definitely not alone. If you still plan on completing your home exterior project before year’s end, you should lean on the knowledge of local Painters in Moorestown. Hiring or consulting an expert in your region of New Jersey could save you ample amounts of time and money. These experts are familiar with the local climate and the effects it can have on the quality of your painting.

Here are a few tips to consider when painting outside in the cold weather:

Avoid Oil-Based Paints: When choosing your desired exterior paint, more needs to be considered than just the color. You should make yourself aware of the differences between the two main paints: oil-based and water-based (latex). If the paint you apply is oil-based, the resins within the paint will thicken with the lowering temperatures which makes it hard to apply evenly and smoothly. Then there is water-based paint which is known for its smoother consistency but with colder temperatures it can be susceptible to freezing. To avoid this, mix your paint with an anti-freeze additive. This is your best bet if you are looking to avoid improper bonding of the paint chemicals. 

Be Sure Your Surface is Ideal Temperature: A good rule of thumb to have when painting is to make sure the exterior surface is not colder than the air. This time of year, it is common to see colder surfaces when your area is experiencing wind and on mornings after a chilly night. You should be absolutely sure it’s a proper temperature before painting, many go out and buy an infrared thermometer. This is a tool most painters will have with them and is also simple to use and affordable in stores. 

Be Aware of Paint That Was Frozen Previously: Just from the sounds of it, I would bet we all realize water-based paint is more susceptible to freezing. Oil-based paint rarely freezes. This doesn’t necessarily mean you cannot use water-based paint that has thawed out. You should see if the paint regains its smooth consistency. If it does you should absolutely use it, if it still has clumps you should refrain. 

Build a Bubble: This is for your extreme scenarios. If your home remodeling project must be done in the cold of winter or must be continued through iffy weather, you’ll need to enclose the area. Obviously, it doesn’t need to look like a bubble. Most homeowners just use plastic sheeting and either a wooden frame or scaffolding. This alone will not increase the temperature, so you need to put space heaters in the area to get it to an optimal 80 degrees. This has its concerns; you must be careful with heaters in such a small area.

Share this post:

How To Paint Trim & Crown Molding

How To Paint Crown Molding & Trim Blog

Interior trim and crown molding are used to add a unique aesthetic to rooms around your home. These features are merely decorative and don’t serve a functional purpose. If you decide on repainting a room with trim and moldings, you don’t want to ignore freshening them up. These features really bring your room together and must be handled differently than a regular surface wall. Our teams of painters in Collingswood provide tips on tackling painting trim and crown moldings. 

Pick A Trim Or Molding Color

The first step in sprucing up your trim and moldings is picking the color. Trim and molding are frequently used to add contrast to the room. Whether it makes the décor, walls, or floors pop, the color of your trim or molding can do a lot for a room. Many people opt to go with a wood finish to achieve a more natural effect. Another common play is to use neutral colors that blend in with the rest of the room. You can add contrast by painting the trim a darker shade of the wall color as well. If you prefer more vibrancy and overall color, you can choose colors that are next to each other on the color wheel. For contrast, you want to choose colors that are opposite to each other on the color wheel. 

Pick A Paint Type

There are many different types of paint that bring out certain characteristics. The paint type will determine how durable and aesthetically pleasing the surface will be. Common paint types are flat, enamel, satin, and gloss. For trim and molding, a gloss paint type works the best. The two types of gloss paint are semi-gloss and high gloss. Our Collingswood painters recommend using high gloss if you want a shiny look. If you want a more dull look, use semi-gloss. If you clean wash your trim often, use a high gloss paint type. 

Pick Your Paintbrush  

Trim and molding can be tedious to paint. The surface area you are covering is really small in comparison to the surrounding walls. Rainer Painting recommends using a high-quality enamel or varnish brush. These high-quality brushes help put on a lot of paint despite their overall size. They are useful to utilize when painting hard-to-reach or intricate areas. If the paint you are using is water-based, make sure the bristles are synthetic so the shape of the brush doesn’t diminish as you paint. 

Prepare The Room 

The luxury of hiring a Collingswood painting team is that they take care of the hassles before and after the room is painted. Preparation is everything. First, you want to clear out the room of any furniture that could receive splash damage from painting. Second, you want to properly clean the trim or molding that you are painting. If you choose not to clean the molding, it can lead to poor adhesion as you paint, which results in cracking. Lastly, use painter’s tape to avoid getting any paint on the surrounding floor and walls. 

If you have any questions about painting trim or crown moldings, reach out to Rainer Painting at 856-786-8121!

Share this post:

The Importance Of Prep Work For Painting

Importance Of Preparation Blog

The start of a quality commercial paint job begins way before a single brush stroke is made. A lot of the time, the prep work that occurs before any painting determines the quality of the finished project. Poor prep work can ruin a lot of projects before they even get off the ground. Before you dive headfirst into a project, understand the importance of preparing your workspace. From the walls to your tools, our painters in South Jersey provide some tips and insight. 

Surface preparation is extremely important and time-consuming work. However, it must be done to ensure the paint adheres to the surface properly. You cannot rush the preparation process because it will end poorly and result in more money being spent trying to correct the result. When working as a commercial painter, this can be a disaster and ruin your reputation in the area very quickly.

Protecting Items And Surfaces

When beginning your preparation, all items and surfaces that are not being painted should be protected. You can protect these items by simply removing them from the area or covering them with tarps. If you are painting a surface that has intricate trim work, you should utilize painter’s tape so the paint doesn’t drip on the wrong spots. The toughest spots to protect are doorways, outlets, and windows. 

Power Washing 

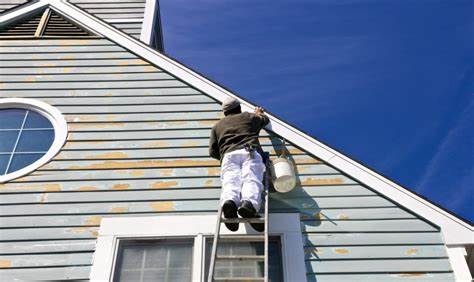
Surface preparation comes to play with outside surfaces as well. The most popular way to prepare an outside surface is by cleaning it with a power washer. Outside surfaces can have many contaminants such as dirt, rust, algae, mud, and much more. The pressure and temperature of the water will easily remove these contaminants from any surface. If contaminants are not removed, it can jeopardize the durability of the paint job. 

Scraping & Drying

After cleaning a surface, you want to let it completely dry before you start moving on to the next step. If a surface is still damp, primer or paint will not adhere properly. For power washing, the surface may remain damp for a few days. Be mindful of this when time is of the essence for a project. After cleaning a surface, loose paint might still be present. Paint leftovers need to be scraped off to make sure a bare surface is available for your new paint. Again, failure to do this may create problems with the new paint adhering properly. 

If you have any questions or concerns about your painting project, reach out to Rainer Painting at 856-786-8121! 

Share this post: