Painting a room can transform its appearance and give it a fresh new look. However, achieving a flawless finish requires proper preparation. If you’re looking for professional painters in Cherry Hill or planning a DIY painting project, this article will guide you through the essential steps to preparing a room for painting. From gathering the necessary tools to preparing the surfaces and protecting your furniture, following these steps will ensure a successful painting experience and a beautifully painted room.
- Gather the Required Tools and Materials
Before you begin prepping the room, make sure you have all the necessary tools and materials. You’ll need:
- Drop cloths or plastic sheets to protect the floor.
- Painter’s tape for clean edges and to protect trim, windows, and outlets.
- Sandpaper or a sanding block to smooth rough surfaces.
- A putty knife for filling holes and cracks.
- A primer to create a smooth, even base for the paint.
- Paint rollers and brushes suitable for your chosen paint type.
- Paint trays and liners for easy application.
- Cleaning supplies like soap, water, and a sponge or cloth for surface preparation.
- Clear and Clean the Room
Begin by removing as much furniture and decor from the room as possible. Take down any wall hangings, curtains, or light fixtures. If you cannot move large furniture, push it to the center of the room and cover it with drop cloths or plastic sheets.
Next, thoroughly clean the walls, baseboards, and other surfaces you plan to paint. Remove any dust, dirt, or grease using soap, water, and a sponge or cloth. Pay attention to areas near doors, windows, and light switches that tend to accumulate grime.
- Repair and Patch Imperfections
Inspect the walls for any imperfections such as holes, cracks, or dents. Use a putty knife to fill these imperfections with spackle or a suitable filler. Allow it to dry and then sand it smooth. This step ensures a seamless finish when the paint is applied.
If you encounter larger holes or damaged areas, consider using a wall patch kit. These kits typically contain a patch and joint compound, which can be applied according to the manufacturer’s instructions.
- Sand and Smooth the Surfaces
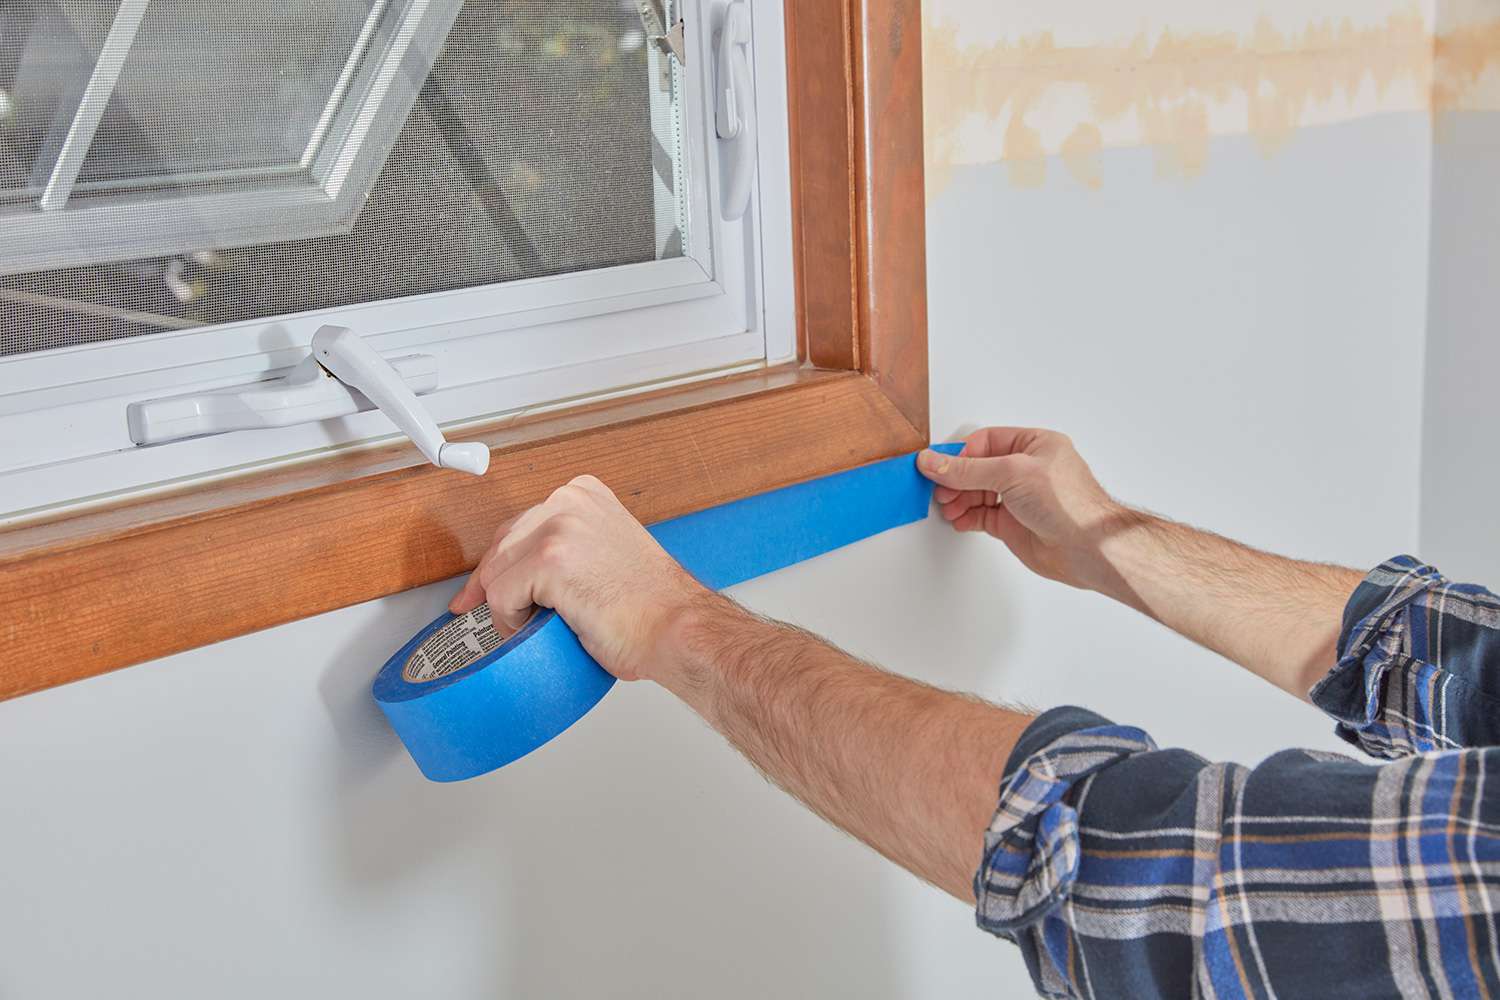
To achieve a professional-looking paint job, it’s essential to have smooth surfaces. Lightly sand the walls, baseboards, and other painted surfaces using sandpaper or a sanding block. This step helps remove any loose paint, rough patches, or texture, creating an even surface for the new paint to adhere to. Be sure to wipe away any sanding dust with a damp cloth before moving on to the next step. - Apply Painter’s Tape and Protect Surfaces
Painter’s tape is a valuable tool for achieving clean and crisp paint lines. Apply the tape along the edges of trim, windows, outlets, and any other areas you want to protect from paint drips or splatters. Ensure the tape is firmly pressed down to prevent any seepage.
Cover the floor with drop cloths or plastic sheets to safeguard against accidental spills or splatters. Additionally, use old sheets or plastic to protect any remaining furniture or large items that couldn’t be moved.
- Prime the Surfaces
Priming is an important step, especially when dealing with new drywall or surfaces with stains or uneven textures. Apply a coat of primer to create an even base and enhance the adhesion of the paint. Use a brush to cut in around edges and corners, then follow up with a roller for larger areas. Allow the primer to dry completely before applying the paint.
Properly prepping a room for painting sets the foundation for a successful and professional-looking finish. By following these steps, whether you hire painters in Cherry Hill or take on the project yourself, you’ll be well-prepared to transform your room with a fresh coat of paint. Remember to gather the necessary tools, clean the room thoroughly, repair any imperfections, sand the surfaces, apply painter’s tape, protect surrounding areas, and prime the surfaces before painting. With careful preparation, your painted room will shine with a flawless and beautiful new look.