What Are The Differences Between Latex And Oil-Based Paints?

Differences Between Latex & Oil-Based Paints Blog

There are two common types of paint that are used for interior and exterior paint jobs. Both types of paint have unique characteristics that make one preferable over the other. The kind of project you are working on will influence and determine what type of paint you should use. The two main types of paint are latex and oil-based. How do you know when to use which? Our professional painters in South Jersey outlined the differences and similarities.

Ease Of Use

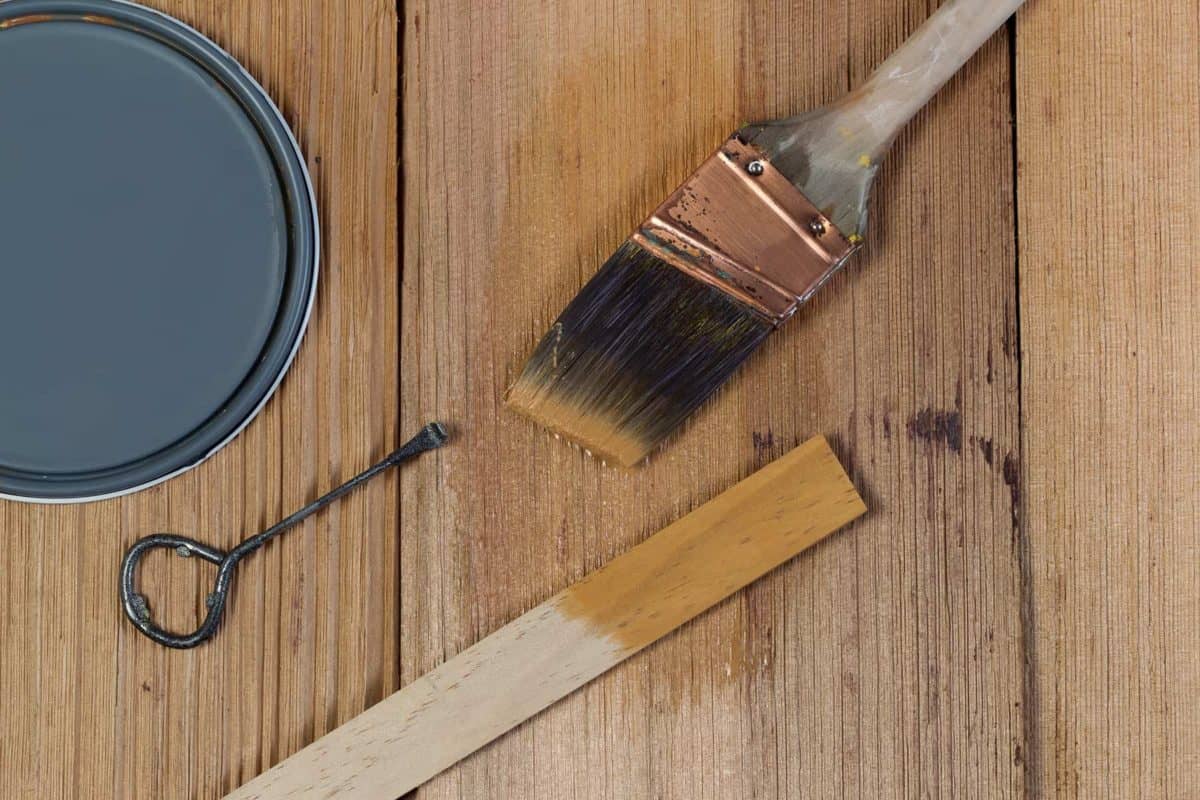
Both types of paint have difficulties when applied. Generally, oil-based paints require more energy and effort to apply to a surface. Oil-based paints are more difficult to spread on a surface due to their composition. Oil paints are a lot more viscous and thicker, which require multiple brushes to be used. Oil paints take longer to dry as well. On the other hand, latex paints are a lot thinner, which results in an easier spread and less equipment use. Oil-based paints require a good primer as well. Latex paints don’t require a primer, but it is still strongly recommended to prevent a failure to adhere to the surface.

Chemicals Used

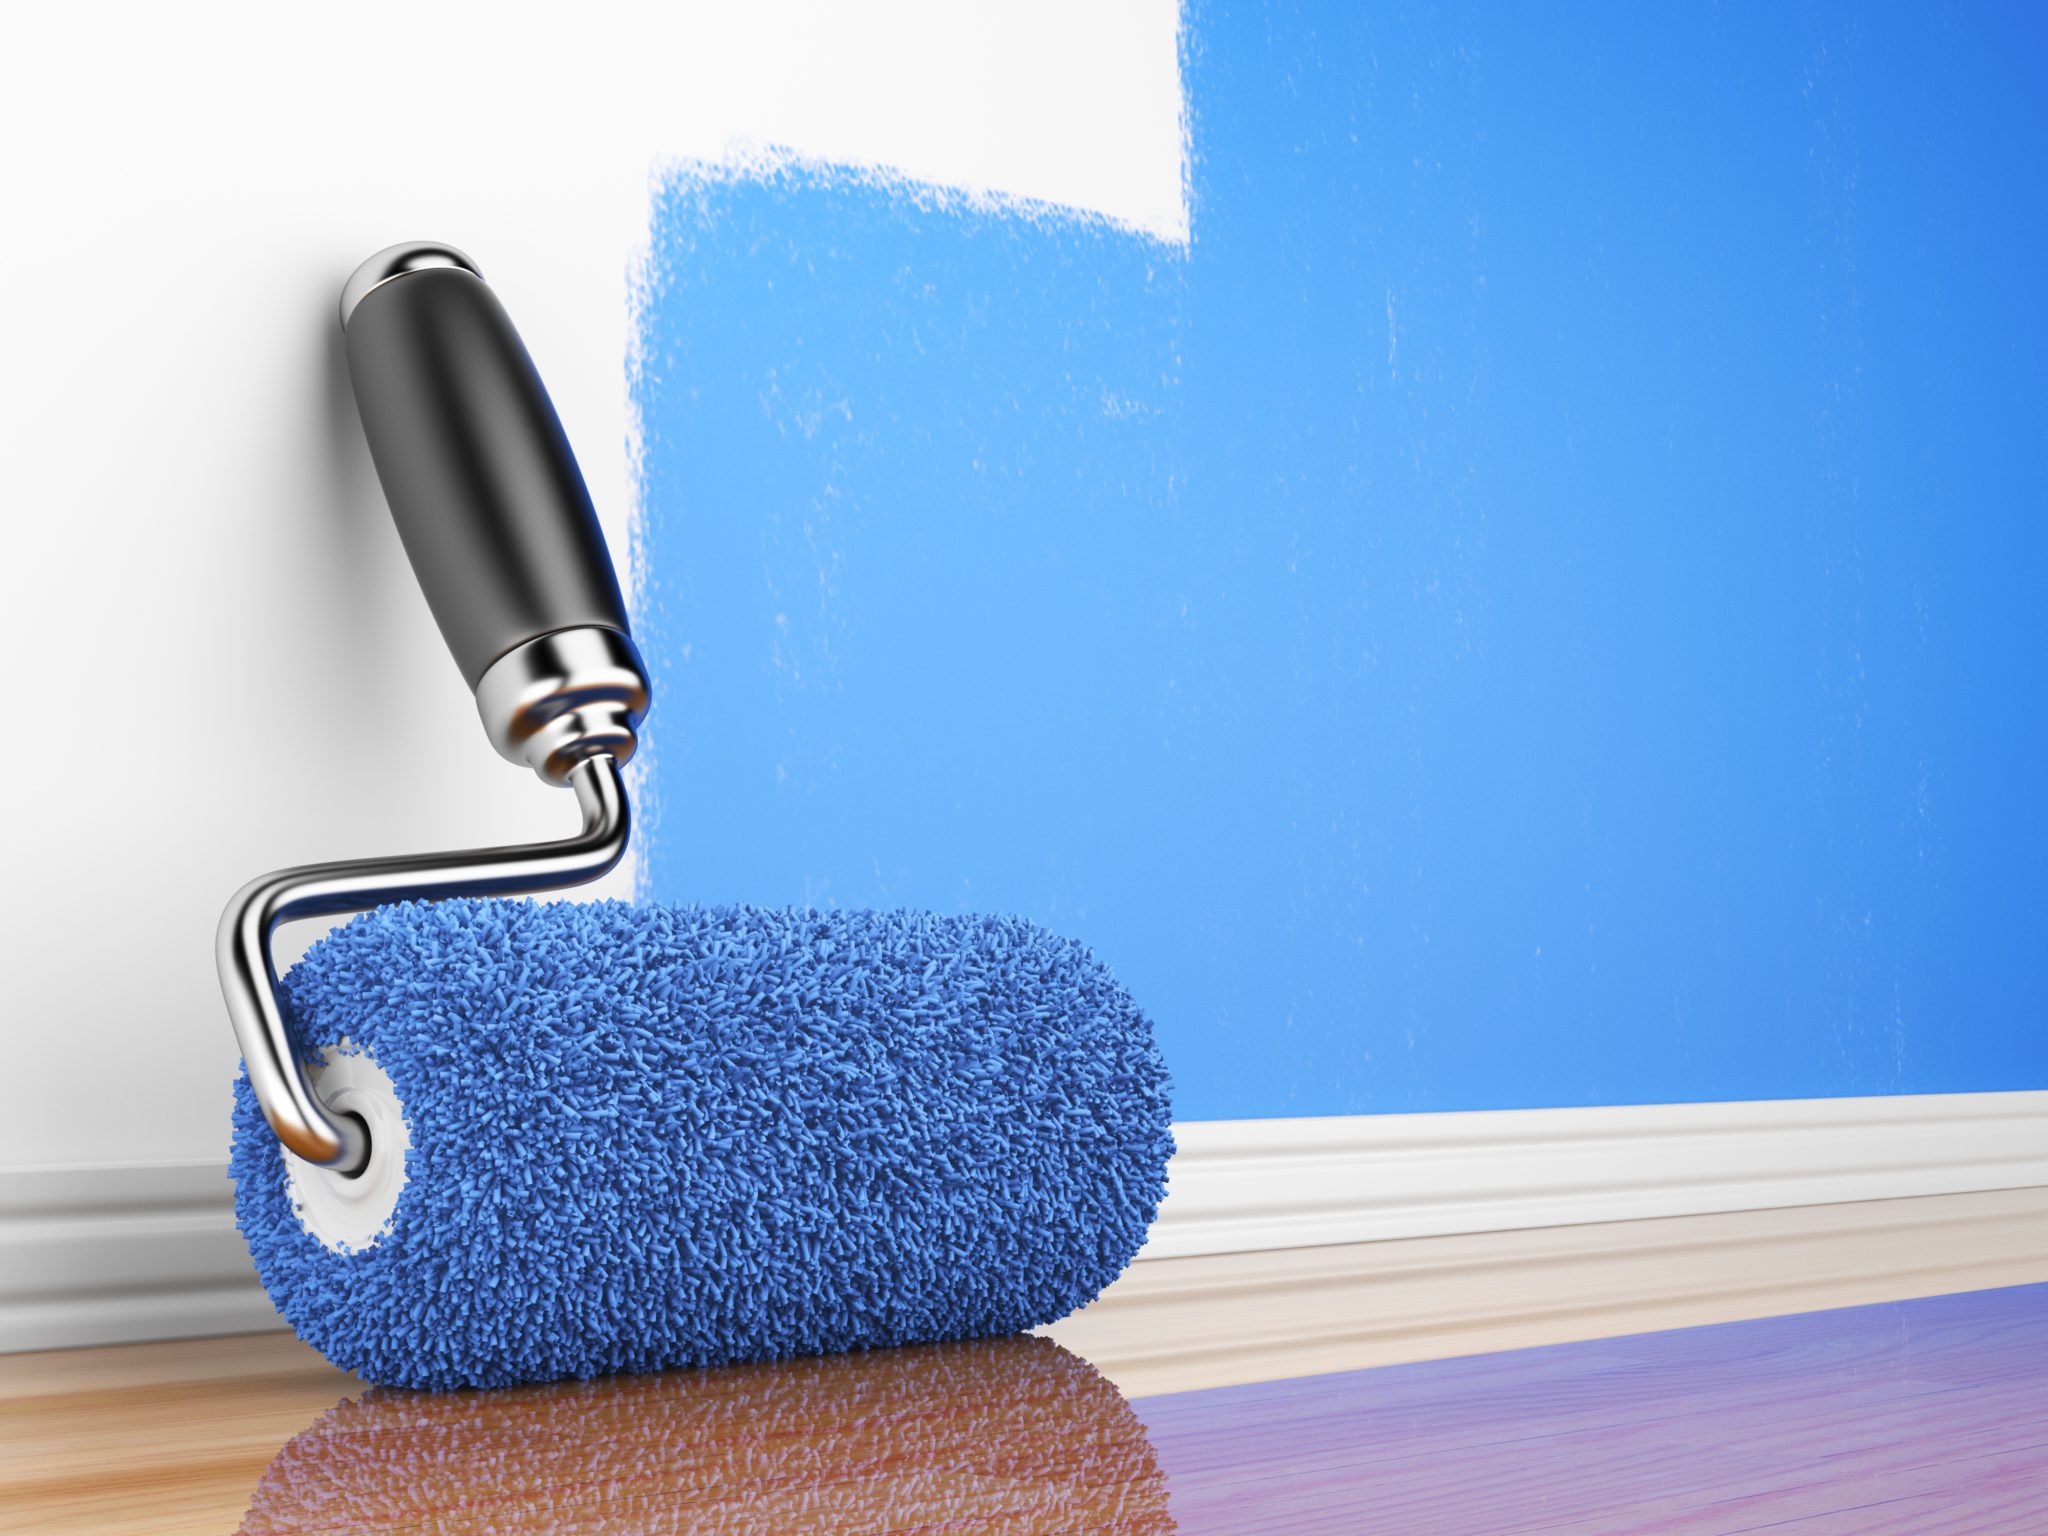
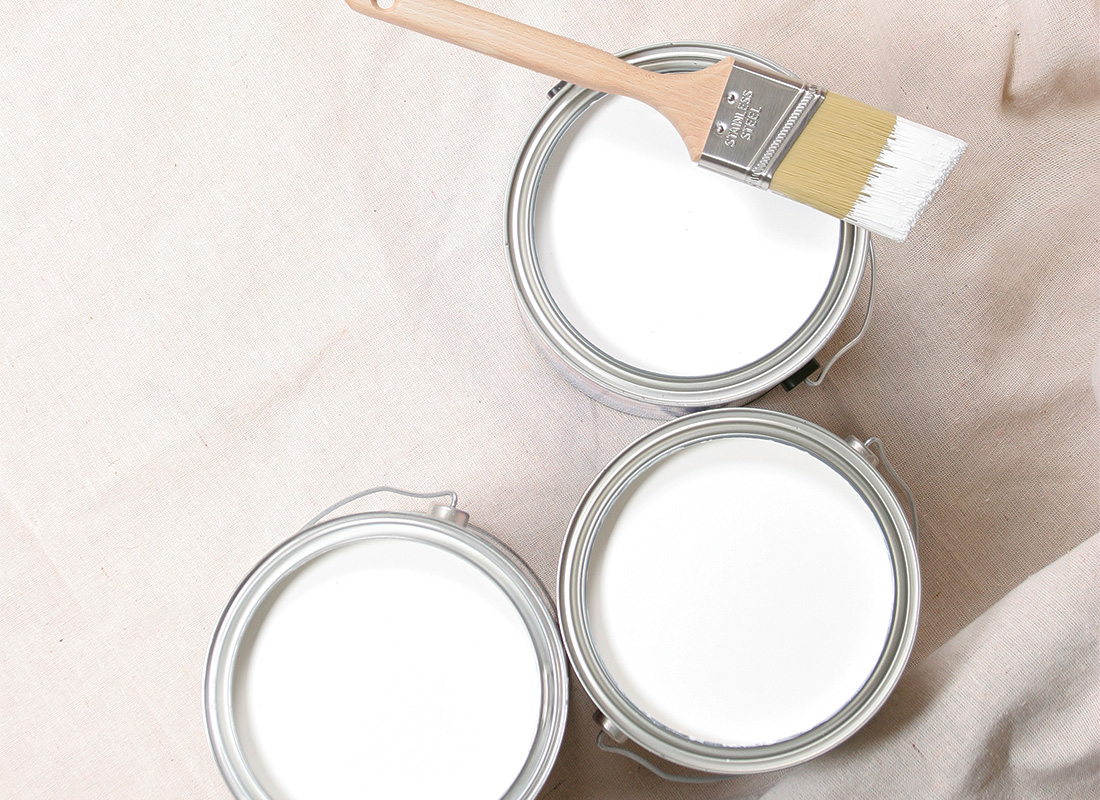
Both paint types offer similar colors that can achieve various looks for your home. Each paint type differs based on its chemical makeup. In particular, both paint types use different chemicals to bind to surfaces. Latex paints use an acrylic mixture that acts as a binding agent for the paint. The acrylic binding element is non-toxic and very flexible which makes it a popular choice for areas exposed to intense temperature changes. Oil-based paint uses a form of oil as a binding agent. Oil-based paint is quite thick and more susceptible to issues such as mold. 

Durability

Each type of paint has different degrees of durability. Oil-based paints are harder to work with, but offer a higher degree of durability. Oil-based paints are a lot more resistant to stains but are more prone to cracking over time. Latex paints stain very easily but rarely crack or peel over time if applied correctly. Oil-based paints are the go-to choices for high-traffic areas like bathrooms, trims, and exteriors. Latex paints are used for other interior rooms and are easier to clean if an issue occurs. Oil-based paint requires a lot more effort to clean and heavy-duty solutions.  

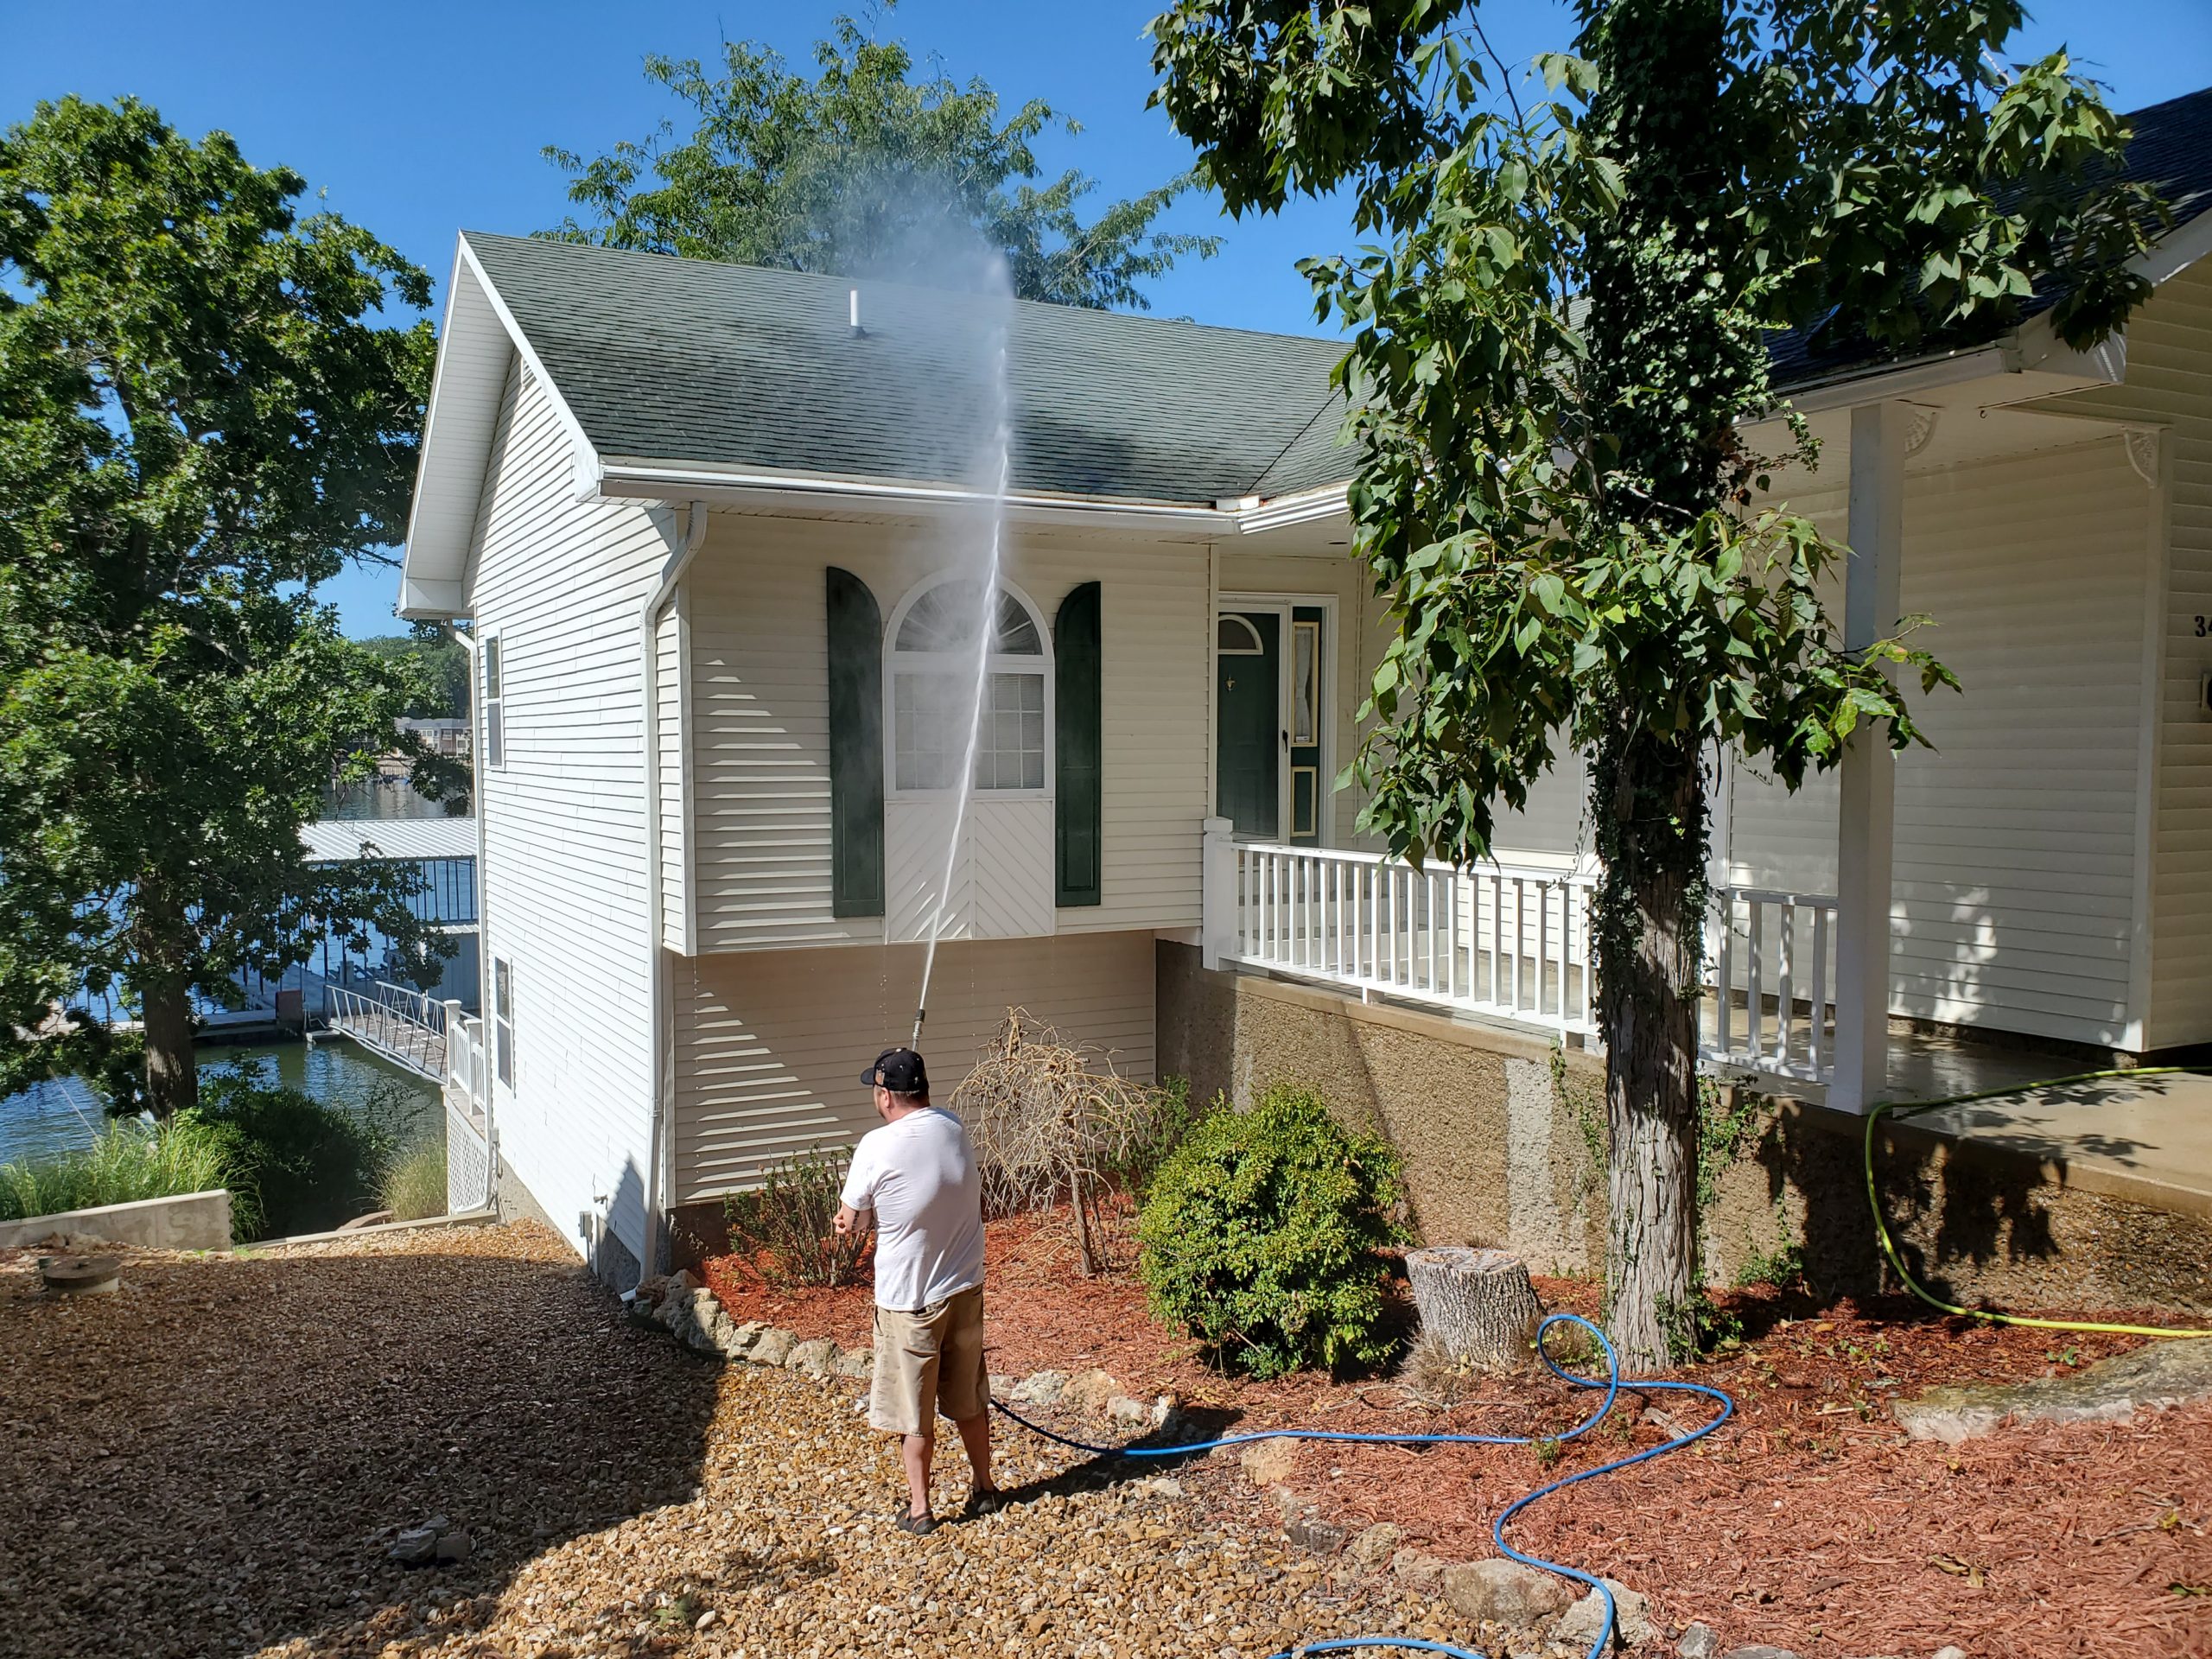
If you have any questions or concerns before starting your next project, reach out to Rainer Painting at 856-786-8121!

Share this post:

How To Preserve Your Exterior Paint Job

How To Preserve Your Exterior Paint Job

Exterior paint jobs take a lot of abuse from the elements. It can be very costly to routinely repaint the exterior of your home every time a form of damage or wear occurs. The best way to keep the exterior paint job in the best shape is to not constantly redo it, but preserve it. Our expert painters in Haddon Heights provided tips to help preserve your exterior paint job.

Manage Your Vegetation

A yard that is flourished with plants, trees, flowers, and bushes may provide a much-needed aesthetic and private barrier to the public. Time and time again, many people will face the issue of vegetation damaging the exterior of the home. We are not saying to clear out the lot completely, but it is important to manage it. Branches and vines can quickly grow out of control. Once out of control, they can become hazards to falling on or growing up the side of your property. It is important to maintain this before it happens. On the flipside, trees can be beneficial for your exterior paint job if they are placed properly and keep the elements like sunlight off of your siding.

Cleaning Your Gutters

The gutters of your property function as a way to properly distribute excess water and protect your roof. Unfortunately, certain roofs and gutters can cause debris to be pushed down the siding of your home. This debris can cause staining of the exterior siding of your home. The best way to avoid this is by regularly cleaning your gutters and roof to avoid a buildup of sludge above. This will not only preserve your exterior paint job but your gutters and roof as well.

Clean Your Siding

It is no surprise that exterior parts of your home can become very dirty. It is impossible to prevent particles and dirt from building up on your siding. It can both tint the beauty of the paint job as well as the damage it. You should make a point to powerwash your siding every so often to keep your paint job vibrant as well as clear of nasty particles. Be mindful of any cleaning products you may use. These cleaning products could strip away the protective coating that lines the paint. The best bet is to utilize a power washer and specialized cleaner that was designed for your type of siding and paint.

If you have any questions or concerns about maintaining the exterior of your home, reach out to Rainer Painting at 856-786-8121!

Share this post:

The Proper Way To Paint Wood Paneling

How To Properly Paint Wood Paneling Blog

Wood paneling was a popular aesthetic in the mid to late 1900s in housing designs. Wood paneling was seen as a cheap, easy to install way to achieve the trendy style of the times. From the 50s into the early 80s, manmade materials such as laminate, vinyl, linoleum, and paneling dominated the interior design scene. Fast forward to today, it is not as widely popular as it used to be. Wood paneling can add a sense of warmth to a warm or complete turn you off a room. With that being said, painting wood paneling is a popular request for our painters in Mount Holly. Here are some tips to do it the right way.  

Cleaning

Before you start painting your paneling, the paneling and molding need to be cleaned. Over time, dust and dirt can create a film over the paneling which can be a nasty surface to paint over. A dirty surface makes it difficult for the fresh paint to adhere to. If you do happen to get any paint to adhere, the paint will show off a clumpy look that could easily make the paneling look worse than before. 

Filling & Sanding 

After you clean the wood paneling, you want to fill in any blemishes with putty then let dry out. After minor cracks and holes are filled, it is a good idea to lightly sand the paneling to create a dull and gritty surface for the new paint to adhere to. Be sure to not sand too hard because you can start chipping away at the paneling itself, which creates more spots to fill. Once you are finished, remove the dust by using a damp washcloth. 

Caulking

With paneling, there are usually gaps between each individual panel that lines the walls. Caulk should be used to fill in these gaps between each panel as well as the trim, windows, and doors. Once finished, let the caulk fully dry before moving on to priming the wood paneling. 

Priming

Next, an oil-based or water-based primer should be used to prepare the wood paneling for applying coats. A roller and a fine brush should be enough to get the job done. A roller can be used to efficiently cover the surface while the brush is good for when you get into tight areas of the paneling and cracks. Oil-based and water-based primers will prevent any stains from showing through your completed project.  

Painting

Lastly, you want to get started painting and seeing the makeover come to life. For your first coat, apply a thin layer of paint from top to bottom. Ensure that all grooves are covered between each panel as well as remove any drips down the paneling. After the first coat dries, apply the second coat to make sure the paint job is durable and the best coverage possible was achieved. Once the paneling is painted, carefully work on the trim underneath to either match the wall or create a beautiful contrast. 

If you have any questions or concerns about your painting project, reach out to Rainer Painting at 856-786-8121!   

Share this post:

Why Prime Coat Is Important

2024 painting trends

Before you get knee-deep in your next painting project, there is specific planning and preparation that needs to occur to make sure the result is what you want to see. After you plan out what rooms, colors, and coats are going to be used, make sure you pull back the reigns and start off on the right foot. The right foot for any painting project is starting with using the correct prime coat(primers). There are many benefits of using primers. What primer you use is based upon the surface you are painting on and what paint will go on top. Our seasoned painters in Mount Laurel provided some information regarding primers and primer selection. 

Benefits Of A Primer Coat 

There are many important benefits of a primer coat that can allow for a durable, beautiful makeover to take place. The goal of prime coat is to seal the base surface so extra coats of paint are not needed and don’t soak into the base surface. Primer does an amazing job of hiding natural blemishes and eyesores like joints and seams. Primer prevents anything from showing through the main coats to allow for a long-lasting paint job for your rooms. Primer can be applied to many surfaces such as masonry, metal, wood, and much more. 

Primer is usually a neutral color or completely clear. Neutral and clear colors are used to make sure the desired coats are shown through as much as possible. In most cases, you should look for a primer that has a slight pigment that gets close to your final color to be on the safe side. It ensures that nothing will bleed through and your final color is shown perfectly. 

Different Types of Primers 

There are three main types of primers. These three main types are oil-based, water-based, and all-in-ones. Each type of primer has certain characteristics that make them more effective based on the project. 

Oil-Based Primers

Oil-based primers are a great option for surfaces that are prone to be touched a lot. A young kid’s playroom, doors, windows, and cabinets are ideal areas for oil-based primers to be used. Oil-based primers can be a pain to apply to an extent due to mineral spirits being required for thinning and post-cleanup. Oil-based primers work incredibly well with sealing tough surfaces such as wood and rough stains. 

Water-Based Primers 

Water-based or latex primers are great stain-blocking agents and work well on surfaces that have spots filled with binding paste. If strong cracking resistance is important, water-based primers are recommended and should be used against new drywall and bare wood. If you are priming wood, be sure to test it out on a small area to ensure the wood grain does not rise. Water-based primers can be effectively used on brick, metal, and plaster as well. 

All-In-One Primer 

An all-in-one primer is designed to not only seal but cover a surface within one coat. An all-in-one primer combines the properties of primer and paints together to offer a time-efficient solution to painting. All-in-one primers work best on new drywall or surfaces that have been previously painted. All-in-one primers do a great job covering an area but sometimes may require an extra coat. All-in-one primers are very thick and may not be the best solution depending on the situation. All-in-one primers are not recommended for surfaces that require a high degree of bonding, sealing, and stain prevention.

If you have any questions or concerns regarding primers, reach out to Rainer Painting anytime at 856-786-8121!

Share this post:

Holiday House Preparation

Holiday House Preparation Blog

The winter holidays are finally about to arrive! These holidays can be filled with lots of joy and happiness or anxiousness and messiness. The emotions felt around the holidays largely depend on one question. Are you hosting for the holidays or are you traveling elsewhere? If you are hosting family and friends, a lot of holiday house preparation occurs before anyone even arrives. Holiday decorations and house cleaning can be frustrating when you know that you are having many guests that you may only see once a year. Outside of decorations, what else can be done rather quickly to get your house in tip-top shape? Here are some tips from painters in South Jersey that can help.  

Repaint And Restain Your Front Door

Your guests have arrived! Their first interaction with your house is no surprise, the front door. A quick and relatively easy way to spruce up your house is by repainting or restaining your front door. A freshly painted or stained door makes a welcoming first impression on guests. Your front door is relatively cheap to redo over and has the range of getting pretty creative with color schemes. Give it a shot!

Touching Up Your Bathroom 

A bathroom on the floor where most of your guests will hang out is another space that can quickly get a facelift. A commercial painter can have a bathroom completely refreshed within a day. A fresh and clean bathroom can wow your guests and serve as a conversation topic (only for a little). 

Touching Up Your Baseboards 

Baseboards can be a forgotten part of rooms that don’t really get attention until it’s too late. Baseboards can easily be overlooked but still have the ability to brighten a room up. Look into getting your baseboards touched up and repainted to provide a pop to a room where guests will be hanging out in. 

Repaint Your Cabinets

Holidays are centered around friends, family, and homecooked meals. The kitchen is often the most used space in the home whether you are entertaining guests or not. During the holidays, your guests are going to be bringing dishes and going for seconds in your kitchen a lot. Since it’s a central gathering place, it makes it a great room to redo before you have guests over for the holidays. One project you could start up before the holidays is repainting your kitchen cabinets. Cabinets take up the most space in kitchens. It can only help if a fresh coat of paint on cabinets welcomes all the new foot traffic brought to the kitchen. 

If you have any questions or concerns about your holiday house preparation, reach out to Rainer Painting at 856-786-8121!

Share this post: